
Only 10 pieces of fabric are needed to make this easy Sawtooth Star quilt block. It is one of the blocks featured on my Cube Pincushion. You can make several of these blocks and sew them together for a cute baby quilt, or maybe sew together just a few for a little wall hanging. This classic quilt block looks great however you use it!
Cutting Instructions:
6" Block
Color fabric:
- 4 - 2 3/8" squares
- 1 - 3 1/2" square
White fabric:
- 4 - 2" squares
- 1 - 4 1/4" square
9" Block
Color fabric:
- 4 - 3 1/8" squares
- 1 - 5" square
White fabric:
- 4 - 2 3/4" squares
- 1 - 5 3/4" square
12" Block
Color fabric:
- 4 - 3 7/8" squares
- 1 - 6 1/2" square
White fabric:
- 4 - 3 1/2" squares
- 1 - 7 1/4" square
18" Block
Color fabric:
- 4 - 5 3/8" squares
- 1 - 9 1/2" square
White fabric:
- 4 - 5" squares
- 1 - 10 1/4" square
Assembly Instructions:
Step 1: Referring to the next few photos, lay the small color fabric squares on the large white fabric square. Draw a line along the squares, then sew 1/4" away from both sides of the line.
Pressing: Always press to the dark fabric unless otherwise noted.


Step 2: Cut along the line, then press back the squares.


Step 3: Lay the remaining 2 small color fabric squares on the previously constructed pieces. Mark lines along the squares, then sew 1/4" away from both sides of each line.


Step 4: Cut along the line, then press back the squares.
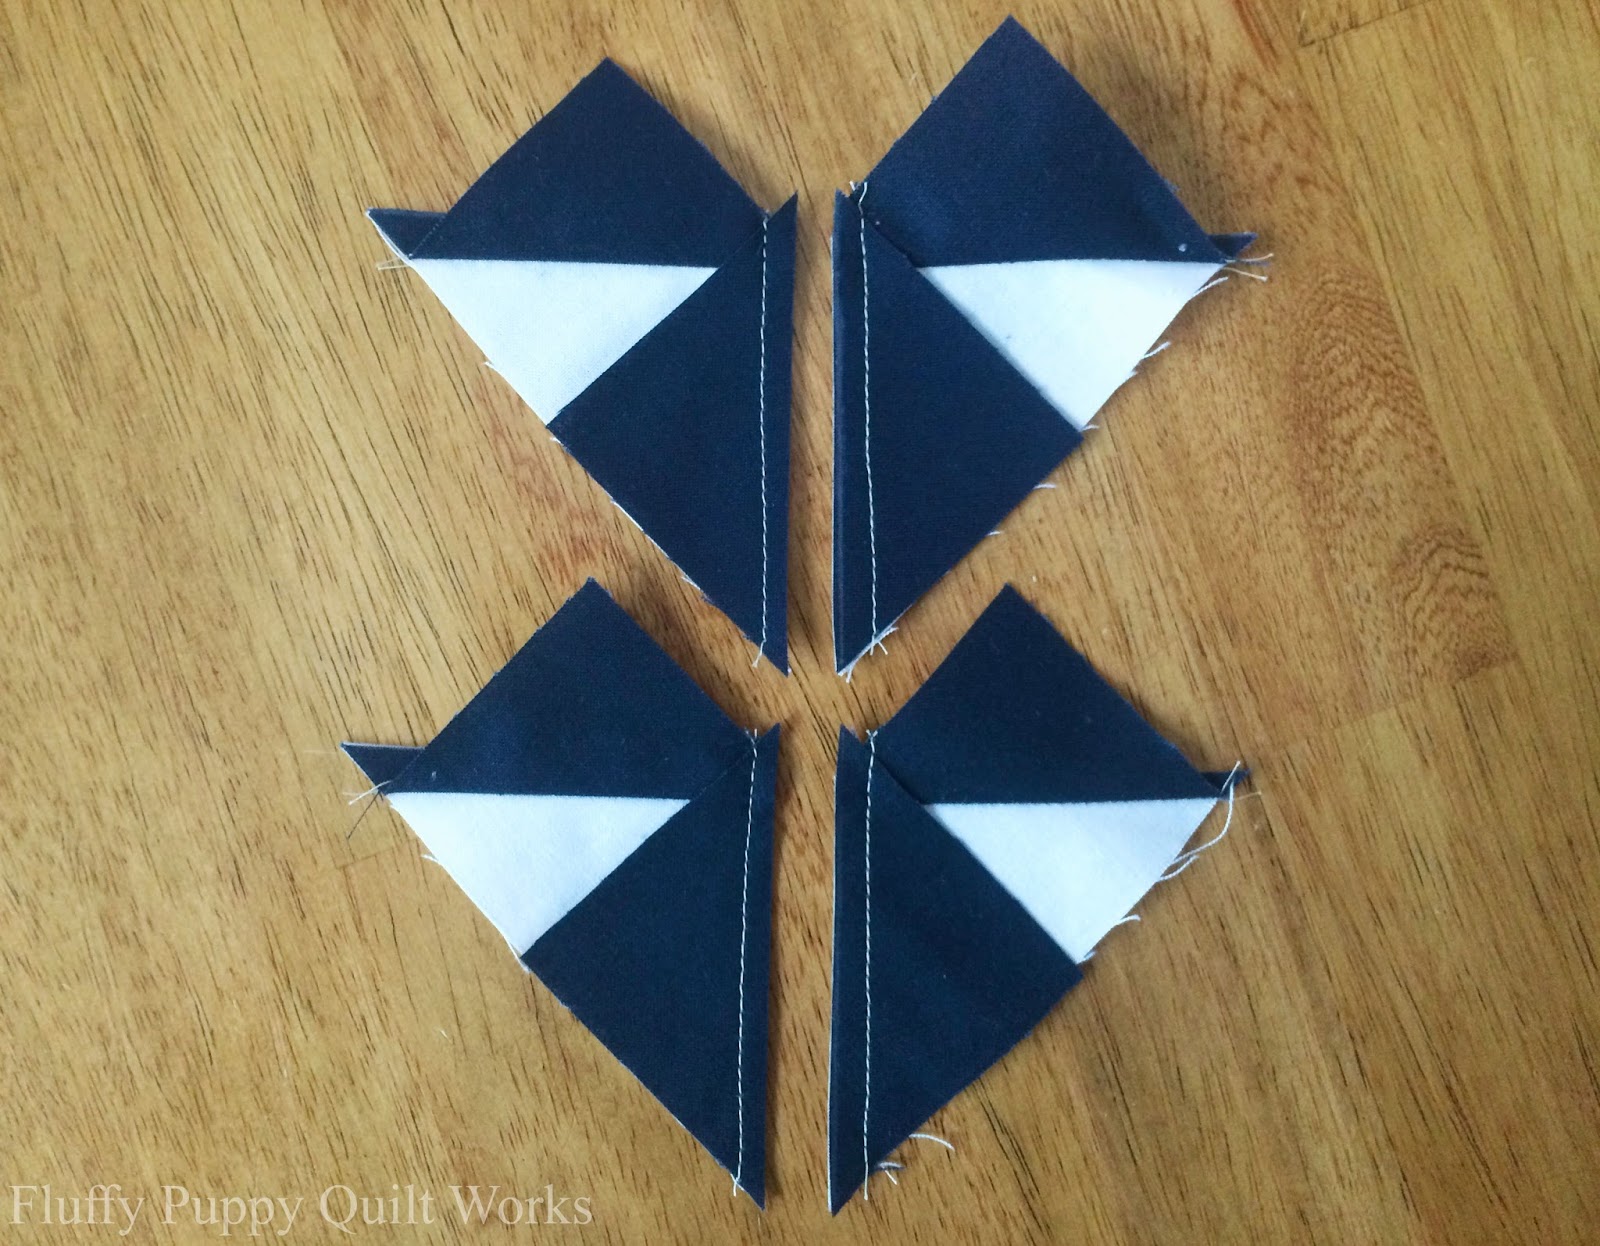
This makes 4 flying geese blocks. The sewing method used is a no waste flying geese block method. You can read more about this method here.

Step 5: Referring to the next 5 photos, assemble the block. Press to the flying geese blocks.


No comments:
Post a Comment