


Time to talk about the one thing practically all quilts have: binding! Now, I say practically all quilts because some (mostly beginner or fast to make projects) are sewn right sides together then turned to finish off the edges. I have even seen other forms of "faux" binding, though I haven't tried them all. Some quilters love to bind and some don't. For me, the binding can occasionally feel tedious and boring since a) I have done it SO much and b) binding is a very important part of the quilt needs to be done properly.
I do still enjoy it though, just like I enjoy all sewing. Getting to see my quilt slowly be framed in its beautiful binding is nice. Plus, it can be quite relaxing to carefully and slowly sew all the way down the perimeter of the quilt.
What steps are there in binding process exactly?
- Well, first the binding itself needs to be made. It is possible to buy pre-made binding. Some quilt shops sell it and I think a few Etsy shops also have it. Some binding methods utilize bias tape, though the method I am going to show in the tutorial is a standard French double-fold binding that does not use bias tape. The binding is just some fabrics strips ironed in half, wrong sides together. Simple!

- Next, the binding gets sewn to one side of the quilt. Which side of the quilt you first sew it to depends on how you are finishing your binding. Hand sewing the binding down usually requires you to sew the binding to the front of the quilt, then hand sew it to the back. This way you have the nice and pretty machine sewn side showing at the front, with the possibly messier hand sewn side at the back. Personally, I only machine bind my quilts. It's faster, and some quilters argue that it is more durable. I am one of those that has found it to be more durable, but I am sure many quilters are great at hand stitching and can sew some amazing binding. My preferred machine method also requires that you sew the binding to the front of the quilt first, then fold it over to the back. You can easily try it the other way, it just depends on what you want to do and how you want your finished quilt to look. No matter which side you sew it to, you should be stopping and starting at the corners to fold the binding, creating mitered corners. It sounds complicated, but it's super easy! I have pictures in the tutorial showing this.

- Once the binding has been sewn onto the quilt once, you have to fold it over to the other side. I like to iron my binding over, but if you are using wool or polyester batting, this is not a good idea. If you do want to iron your binding over when using wool or poly batting, keep the iron on a low setting. The binding won't iron as well, but wool batting can shrink. Poly batting can melt! This is just one of the many reasons I prefer 100% cotton batting, but that's for another blog post. Once the binding is ironed down, pin it in place. You can use any type of pins you want to hold it down. Whatever works for you! As you iron and pin the binding, fold the corners to miter them. If this was done correctly when the binding was first sewn, they should practically fold themselves.

- Sew down the binding. What stitch should you use? I like using decorative stitches, but you can use a straight stitch in the ditch. Just make sure you catch the side of the binding that hasn't been sewn to the quilt yet. If you pinned and ironed the binding properly, it should be nice and straight. Which side should you sew from, the front or back? I like to have the side of the quilt I originally sewed the binding to UP and the side I folded the binding to DOWN. I know, it sounds scary to have the side with unsecured binding where you can't see it. If it has been pinned and ironed good, I find it much easier this way. You may or may not like to sew binding like this. That's fine, quilt however you want! Just try it out and see how it goes.

Whew! That's a lot of info for quilt binding! To sum it up:
- Make the binding from quilting fabric.
- Sew the binding onto one side of the quilt, properly mitering the corners.
- Fold over to the other side, ironing and pinning to help hold it in place.
- Sew down the binding.
Now for the photo tutorial!
Tutorial
 |
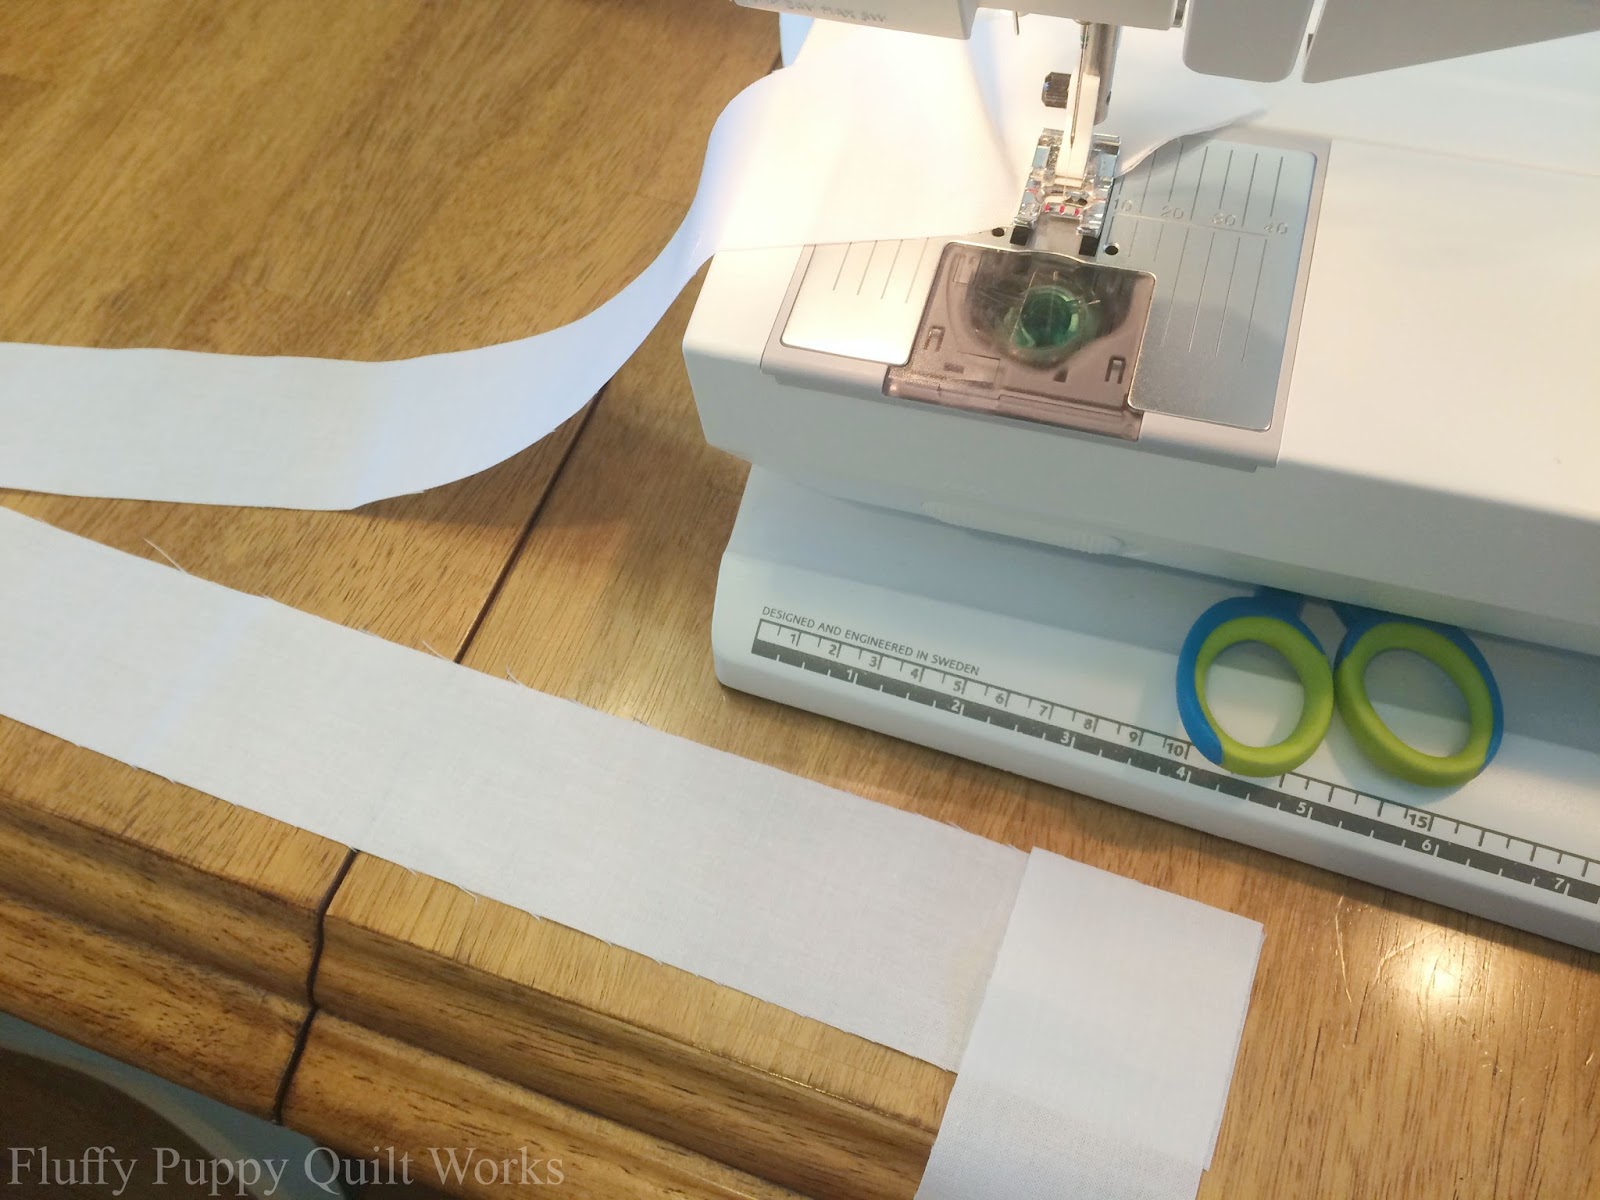
| My binding strips are 2 1/2" wide. |

Cut the selvage off of your binding strips if you haven't already cut it off of your fabric.

Step 2: Sew together the binding strips. Place two binding strips perpendicular to each other, right sides together. Draw a diagonal line on the square where the strips touch. Sew down this line.


Cut off the excess fabric.


Press back the strips.

Once you get comfortable with sewing the strips together, you can try it without drawing the line. It is not as accurate and it's harder to get a nice straight seam, but when you are sewing together several strips it can be a huge time saver.

Tip: Here is how I like to quickly sew together my binding strips by chain piecing them. After you have sewn together two strips, leave them partially under the presser foot and don't clip the threads. Take the strip that is on top and lay it straight out to the left of the machine.
 |
| First two strips sewn, then left partially under the presser foot. The top strip is out to the left of the machine. |
Fold that top strip back up towards the sewing machine. This way, the right side of the strip will be facing up.
 |
| Top strip folded back up towards the machine. |
Get a third binding strip and lay it right side down against the top binding strip. Mark a line across the back of the strip if you need to.
 |
| Third strip right sides to the top strip. |
 |
| Here you can see how that top binding strip is folded away from the machine. |
Sew across the strips.


When you take your strips off the machine, there should be a little thread connecting them. This is the why it's called chain piecing! Your fabric ends up "chained" together. Simply cut this thread. You can sew together as many binding strips in a row as you want!


Back to the binding tutorial!
Step 3: Iron the binding in half, WRONG SIDES together. Iron it well.

 |
| Here is a nice roll of freshly made binding! |
Optional: This is completely optional but it makes binding your quilt easier. Sew around the perimeter of your quilt using a scant 1/4" seam allowance. When you sew on the binding, you will use a full 1/4" seam allowance so this seam will be hidden.


Step 4: Lay the binding against the edge of the side of your quilt you want it first sewn to. I will be sewing mine to the front of the quilt. The raw edges of the binding go against the raw edges of the quilt.
Important: Start your binding towards the center of one of the edges, not in a corner. This makes it easier to join the binding at the end.
 |
| The raw edges of the binding go against the raw edges of the quilt. |
It is best to pin it, though as you get better at binding you may not need to. Only pin the binding to one of the 4 sides of the quilt for now. This is because you will need to stop and start at the corners to miter them.
Begin sewing the binding onto the quilt. Start your seam 8" - 10" down from the end of the binding. This is so you can easily join the binding ends once you make it all the way around your quilt.
 |
| Start the binding at the center of the edge of the quilt, not the corner. Be sure to begin sewing 8" - 10" down from the end of the binding. |
Once you reach your first corner, sew off the edge of the quilt at a 45 degree angle. This starts the process to miter the corners.
 |
| Sew off at a 45 degree angle. |
Finger press the binding up. For more accurate corners, you can iron the binding as you do this.
 |
| Fold the binding up. |
Fold the binding back down, creating a little triangle of binding fabric. Again, you can iron the corner.

 |
| Little triangular fold of binding. |
Sew straight down the binding.

Continue sewing down the binding using a 1/4" seam allowance, mitering the corners when you reach them.
Step 5: Once you have made it all the way around the quilt, it is time to join the binding ends. The binding tails need to overlap the same distance they are wide. My binding is 2 1/2" wide, so my binding tails need to overlap 2 1/2". You can measure this any way that works best for you. Below I show how I measured mine.


Step 6: Now, you need to sew together the binding tails. This process has a few steps to it and might be hard to understand at first, so please bear with me as I try to explain as well as I can!
Press open the binding tails.

Fold the quilt in half to make it easier to bring the binding tails together.

Place the binding tails perpendicular to each other and right sides together. This is the same as the binding strips were placed when you first sewed them together. As this is the most confusing part of the process, I have added several pictures showing this from different angles.


Sew diagonally down the binding strips.


Cut off the excess fabric.

Press the binding flat against the quilt. Since the overlap of the binding tails was equal to the width of the binding, your quilt binding should end up being the perfect length. I will spare you the explanation of the geometry involved in this!

Finish sewing over this part of the binding using a 1/4" seam allowance.

Step 7: Iron over the binding, then pin it down. I like to pin my binding from the top of the quilt, but you don't have to do this. You can sew down the binding with either side of the quilt facing up, whatever works best for you.

Make sure you iron the corners neatly. The neater they are, they easier they will be to sew over. Press all of the binding well, especially the corners.


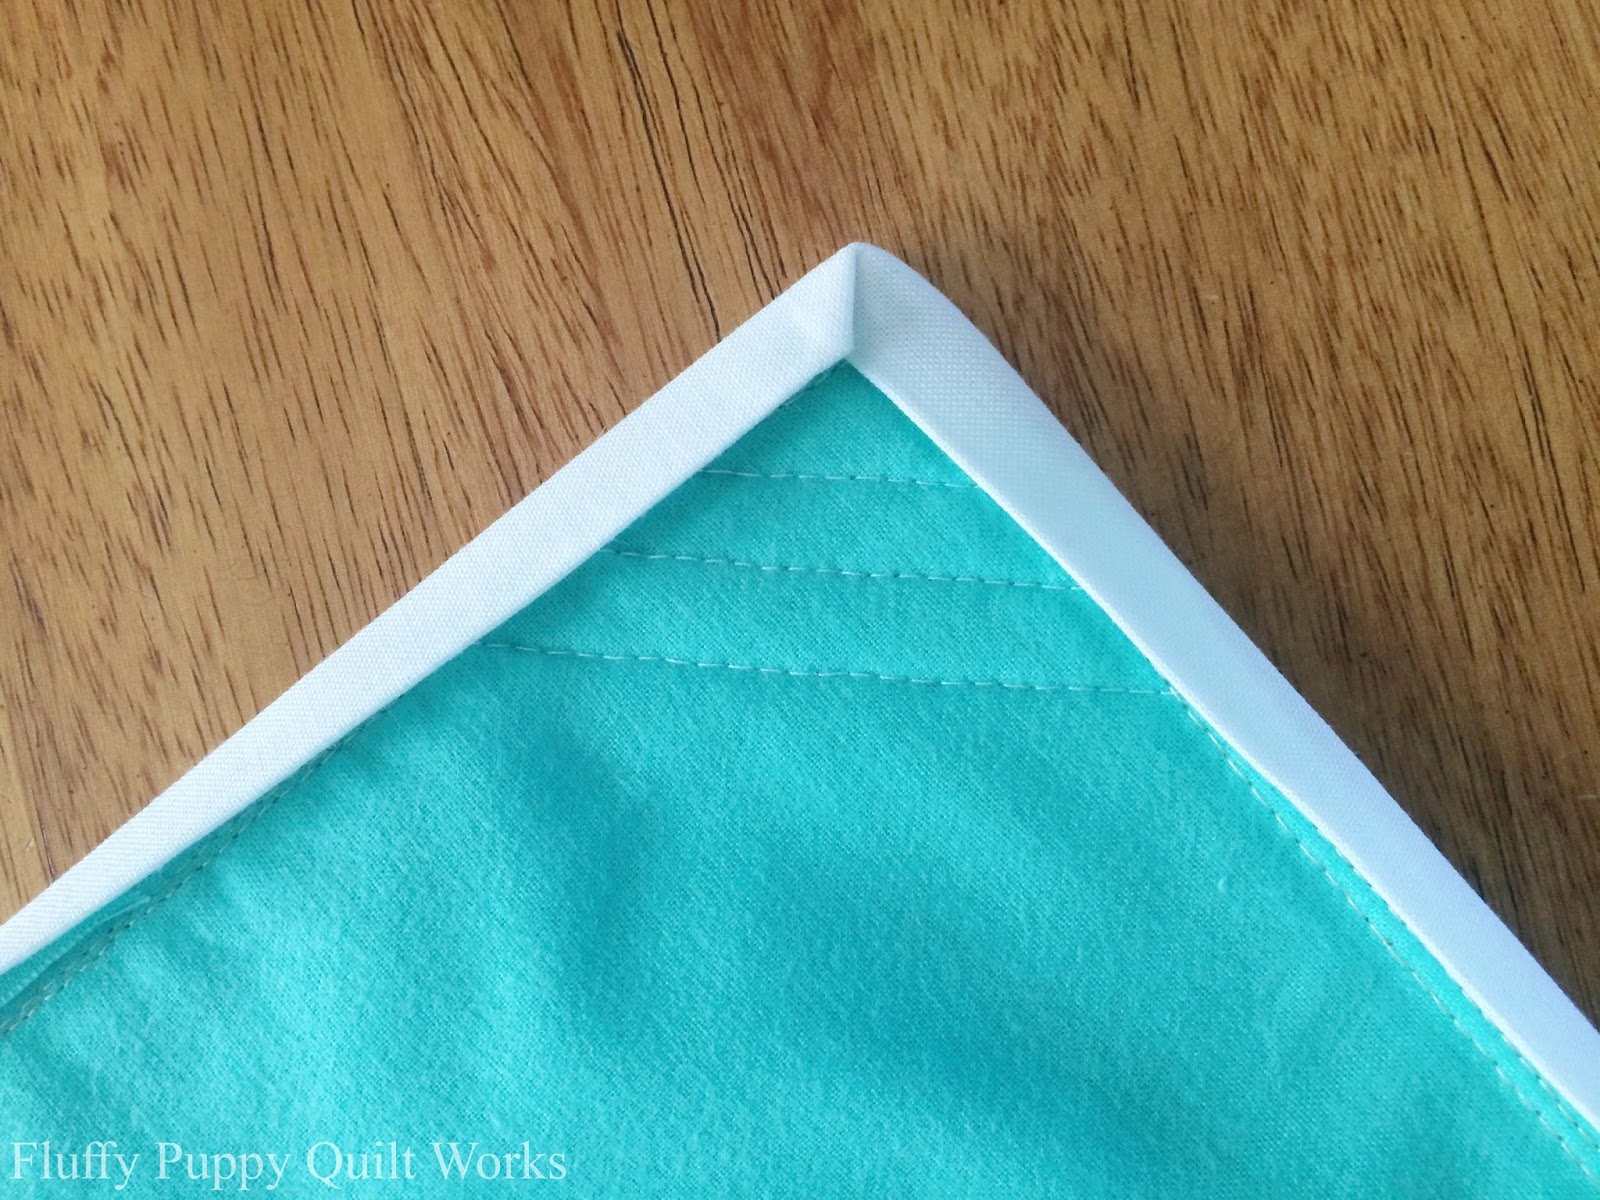
Below is a photo of what the mitered corners look from the front of the quilt.

Once you binding is nice ironed, pin it well.

I like to put my pins through the ditch, I feel the it holds the binding better. I use 1 3/4" long quilting pins for this.


The photo below shows how the pins just do catch the binding on the back.

Step 8: Sew down the binding. I like to center my presser foot over the seam like I am going to stitch in the ditch. Instead of actually stitching in the ditch, I use any kind of decorative stitch I think goes good with the quilt top. If you want to stitch in the ditch, that works just as well!


Experiment with sewing the binding on to either side of the quilt first to find which one you prefer. I have tried both methods multiple times, but I have always found that sewing the binding to the front of the quilt first works best for me.
Use whatever method you prefer to pin the binding after you fold it over. I like to use quilting pins, but binding clips work great also. Some quilters like to use washable Elmer's Glue, but I have yet to try this.
Any stitch works to sew the binding down! I like decorative stitches that cover a wide area over the binding. It just seems to hold it down better. A simple straight stitch in the ditch works great if that's what you want to do!
Thanks for reading, and happy sewing!
Great detailed tutorial! Thank you!
ReplyDeleteThank you Paige!
DeleteFabulous! your attention to detail and pictures are incredibly helpful! Your word choice made each step VERY clear. Thank you, I have read this step several times in quilt books and could not wrap my head around it.
ReplyDeleteYour description and detail including the pictures were immensely helpful! The wording was such that I could easily understand how to create the folds and manipulate the fabric. THANK YOU!! I have read other tutorials but could not quite get how to do it. You helped me understand the binding process in 10 minutes after days of reading quilting books..
ReplyDelete