


What you need:
Outer fabric:
3/4 yard
Lining:
3/4 yard
Fabric for cuff and loop:
1/3 yard or a piece of fabric 9.5" x 17.5", or the width of the top of your stocking pattern doubled, plus 1/2" for seam allowances. Length can be altered depending on desired look of the stocking. Longer width means a longer cuff.
One 6" x 2.5" piece of fabric
Batting:
2 pieces of batting that measure at least 20" x 14", or the length and width of your stocking plus a couple of inches.
Batting for the cuff:
1 piece of batting that measures 9.5" x 17.5", or length and width of your cuff when it's been folded in half lengthwise.
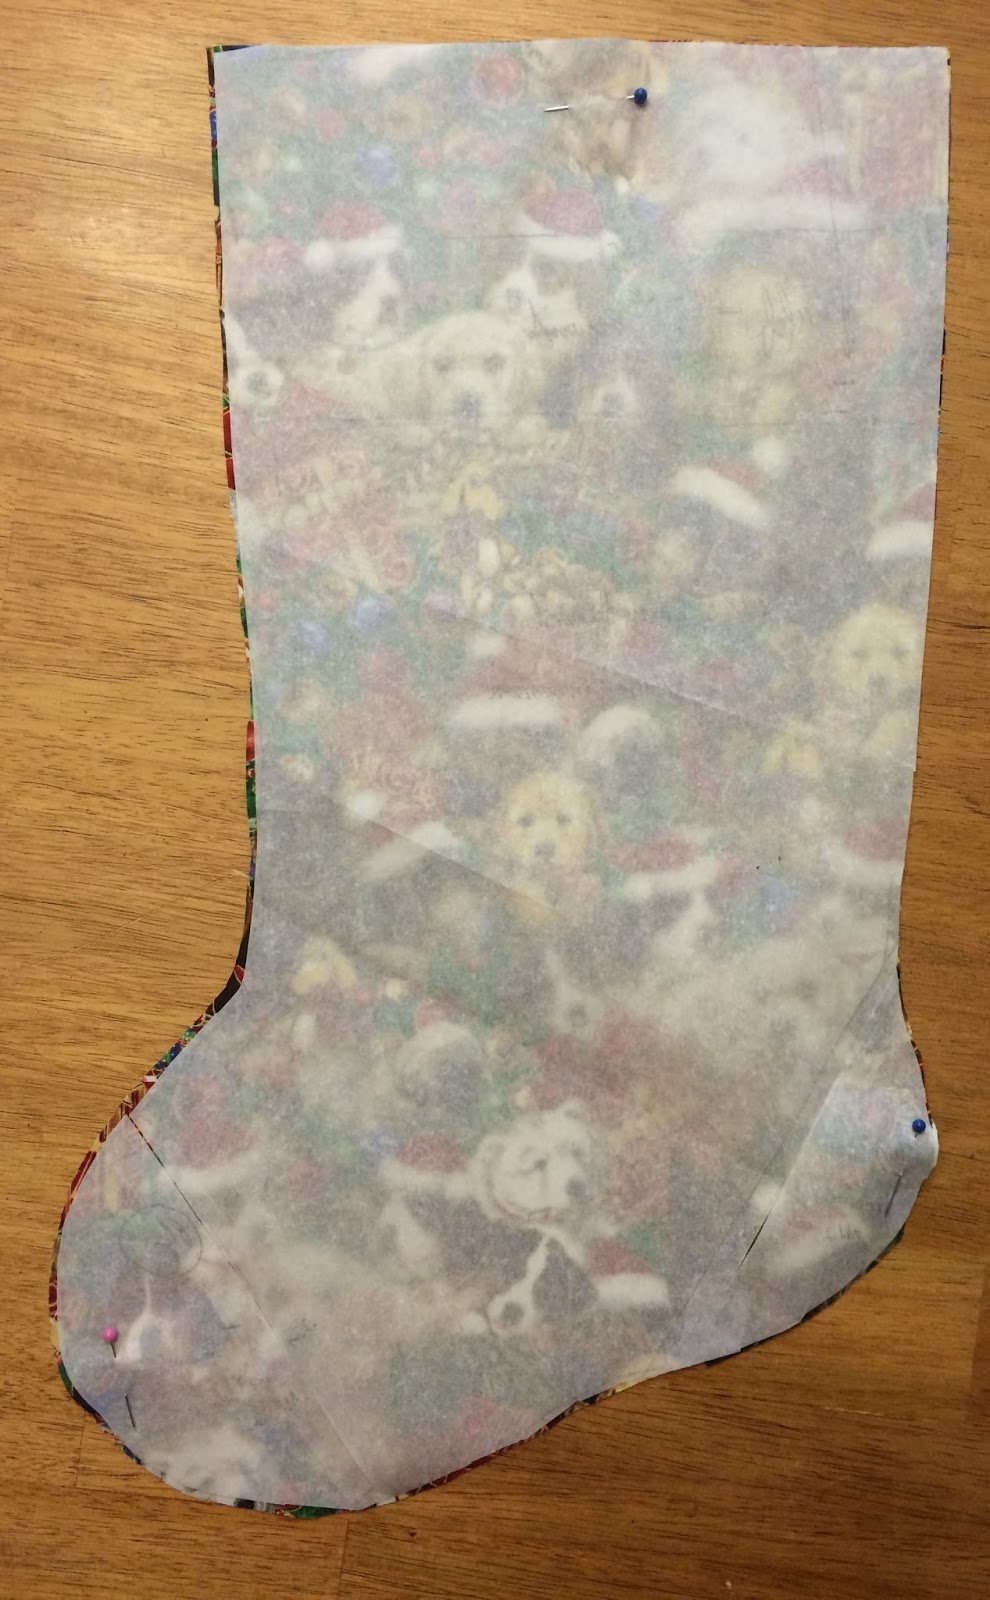
Make a template from parchment paper and an already made stocking. Make sure you add a .25" seam allowance to your template.
The writing on my pattern is what I did to help myself remember what to cut. What I did for one of my stockings was I cut off the heel and toe of the pattern, added a .25" seam allowance to the toe and heel pieces when I cut them, and to the sections of the whole stocking where the heel and toe would be sewn back on. To reuse the pattern for a stocking without heel and toe pieces, I just taped the pieces back onto the pattern.

Cut out 2 stocking pieces from your outer fabric. One piece should be cut with the pattern one way, and the second should have the pattern flipped so when you put them wrong sides together, the right sides should be facing out.
 |
| Piece one. This is not a perfectly rectangular piece of fabric so my pattern pieces may fit differently than yours. |
Make sure you cut out the curves around the heel and arch of the foot. This really helps with the shape of your finished stocking.

Flip your pattern and cut the second piece.
 |
| See how the shapes are reversed? |

Cut out 2 pieces from the lining fabric the same way as the outer fabric. I used my outer fabric pieces to cut since I could position both of them together.

These are your pieces.

Cut out the 9.5" x 17.5" piece for the cuff.

Lay this piece on top of the 9.5" x 17.5" batting piece.

Fold in half, putting the long sides together.


Baste and then quilt. I quilted cross hatching then put a decorative stitch along the creased edge.


Put the short sides together and sew using a quarter inch seam allowance. Unless you pieced the cuff together, there should be no right or wrong sides. If yours does have right and wrong sides, sew it right sides together. Sew a zigzag stitch on your seam allowance.

 |
| Here is the cuff! |
Turn the cuff so the right side is out. Make the loop to hang your stocking. Iron your 6" x 2.5" piece of fabric in half, then open it and match the long edges to the center crease. Press well.

Fold in half and sew next to the open side.

Fold the loop in half and sew the ends to the inside of the cuff, centering it on the cuff seam. Use .125" seam allowance so the seam won't sew when you finish the stocking.

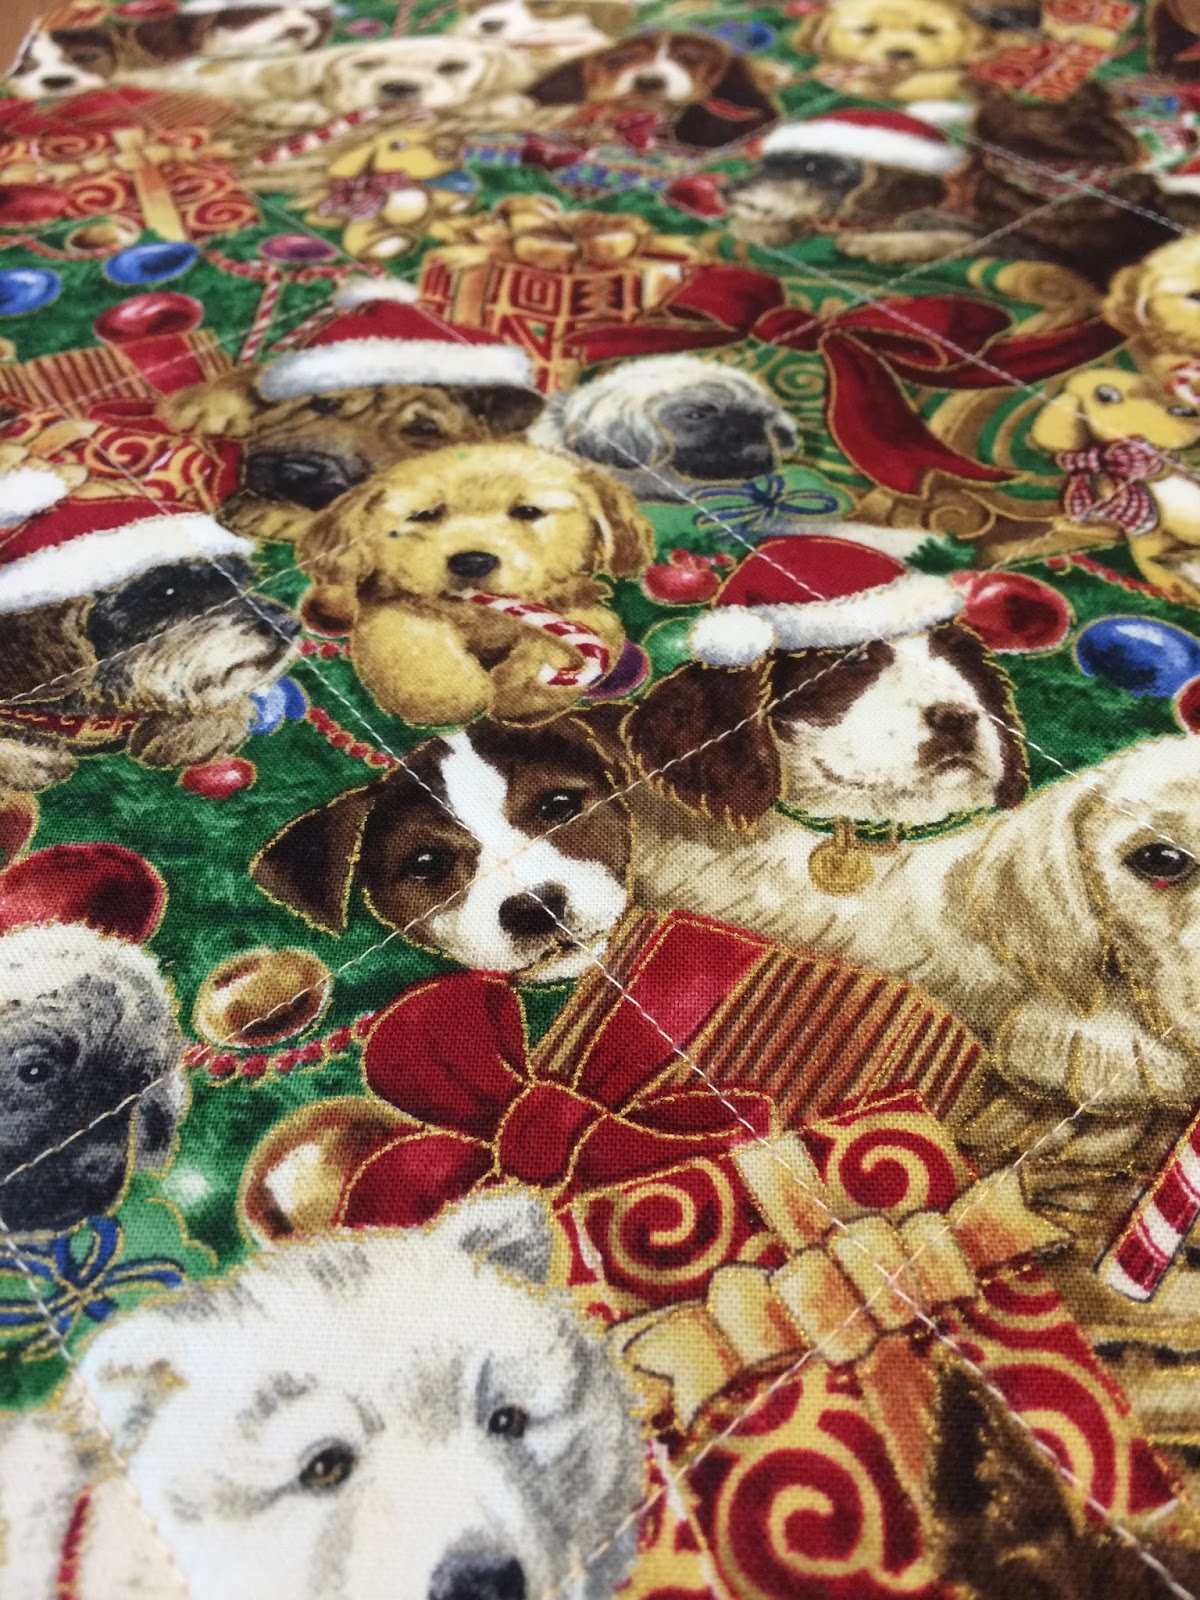
Quilt the outer stocking fabric. Lay each piece on one of the remaining batting pieces. Baste and quilt. You don't have to cut the batting to match the shape of the stocking until you are done quilting. I did it before as I find it easier to handle.


I quilted a diamond pattern with gold thread all over each piece.
Once you quilt both pieces, pin them right sides together, then sew using a .25" seam allowance. Turn it right sides out.

Sew together the lining pieces right sides together using a .25" seam allowance.

Do not turn the lining. Insert the lining into the stocking. Insert the cuff into the stocking, right sides with the loop to the lining. Align the seams on the cuff and stocking.


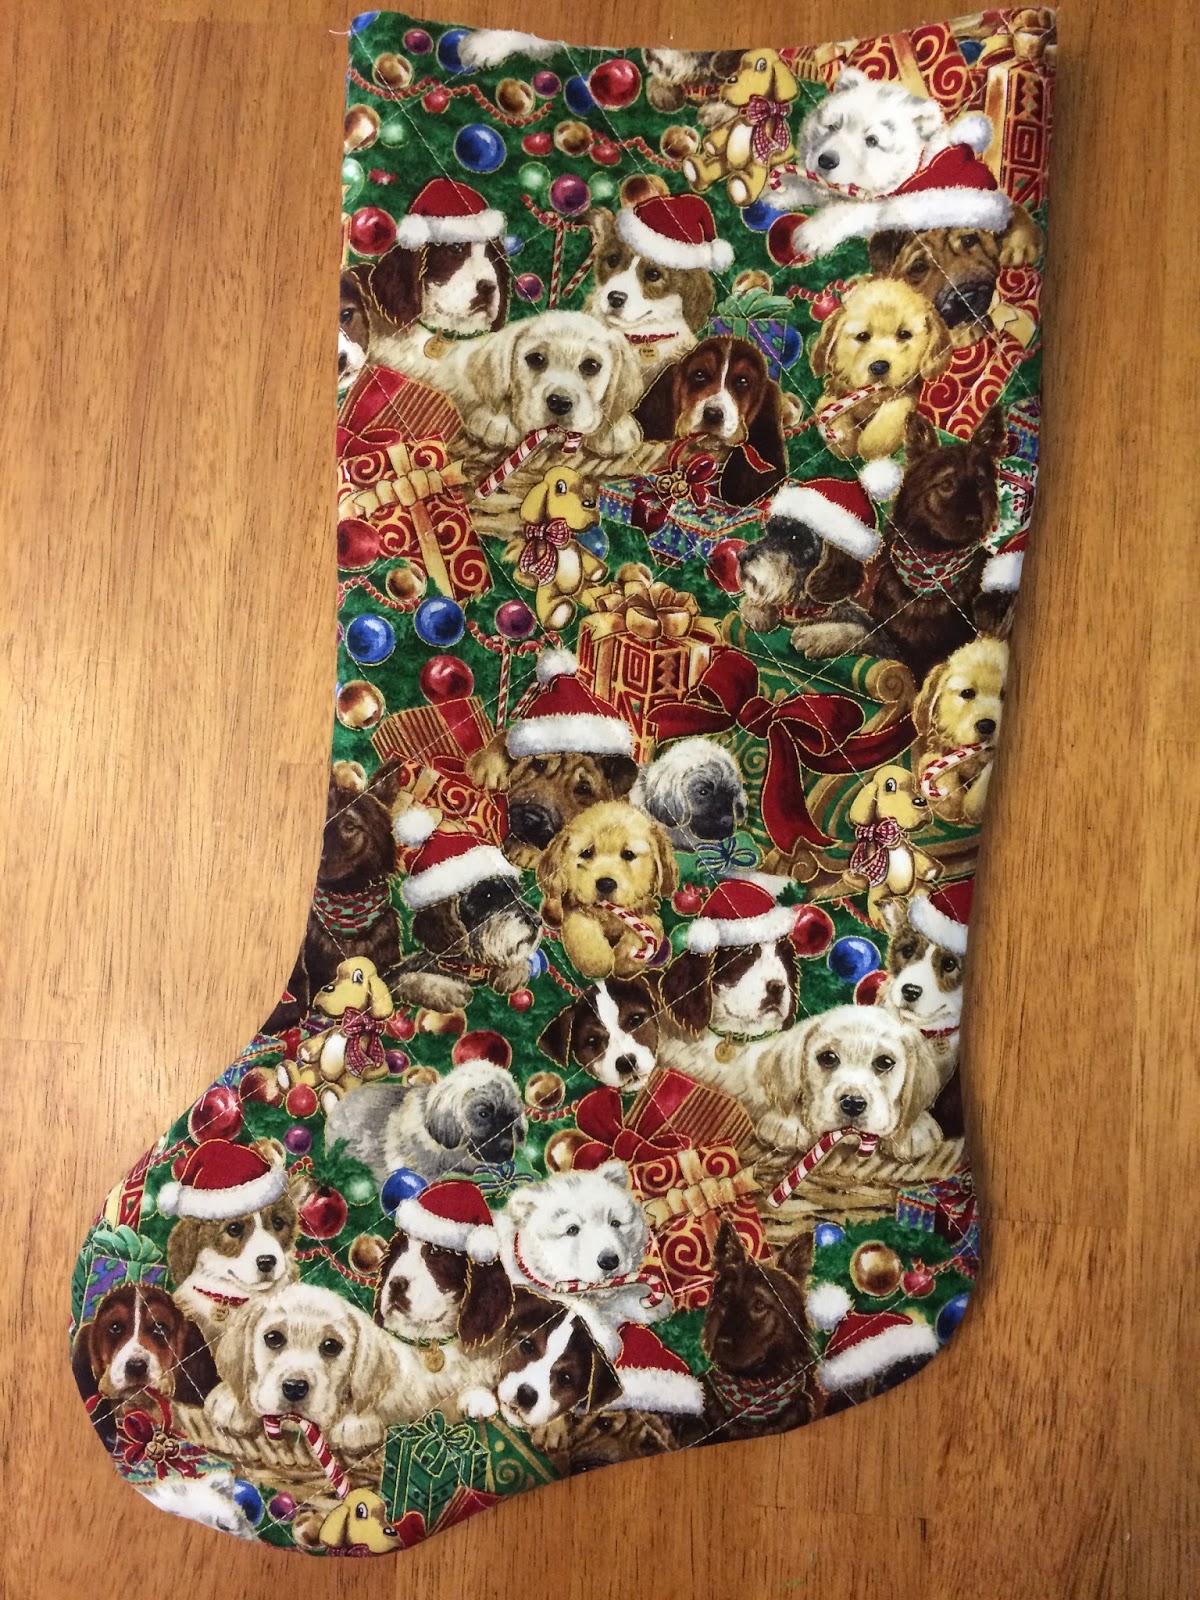
Sew around using a .25" seam allowance.

Sew a zigzag stitch just like on the cuff. Pull the cuff out of the stocking. The loop will come with it. Iron around the cuff and lining so that you can't see the lining around the top of the cuff. And you're done!
No comments:
Post a Comment