


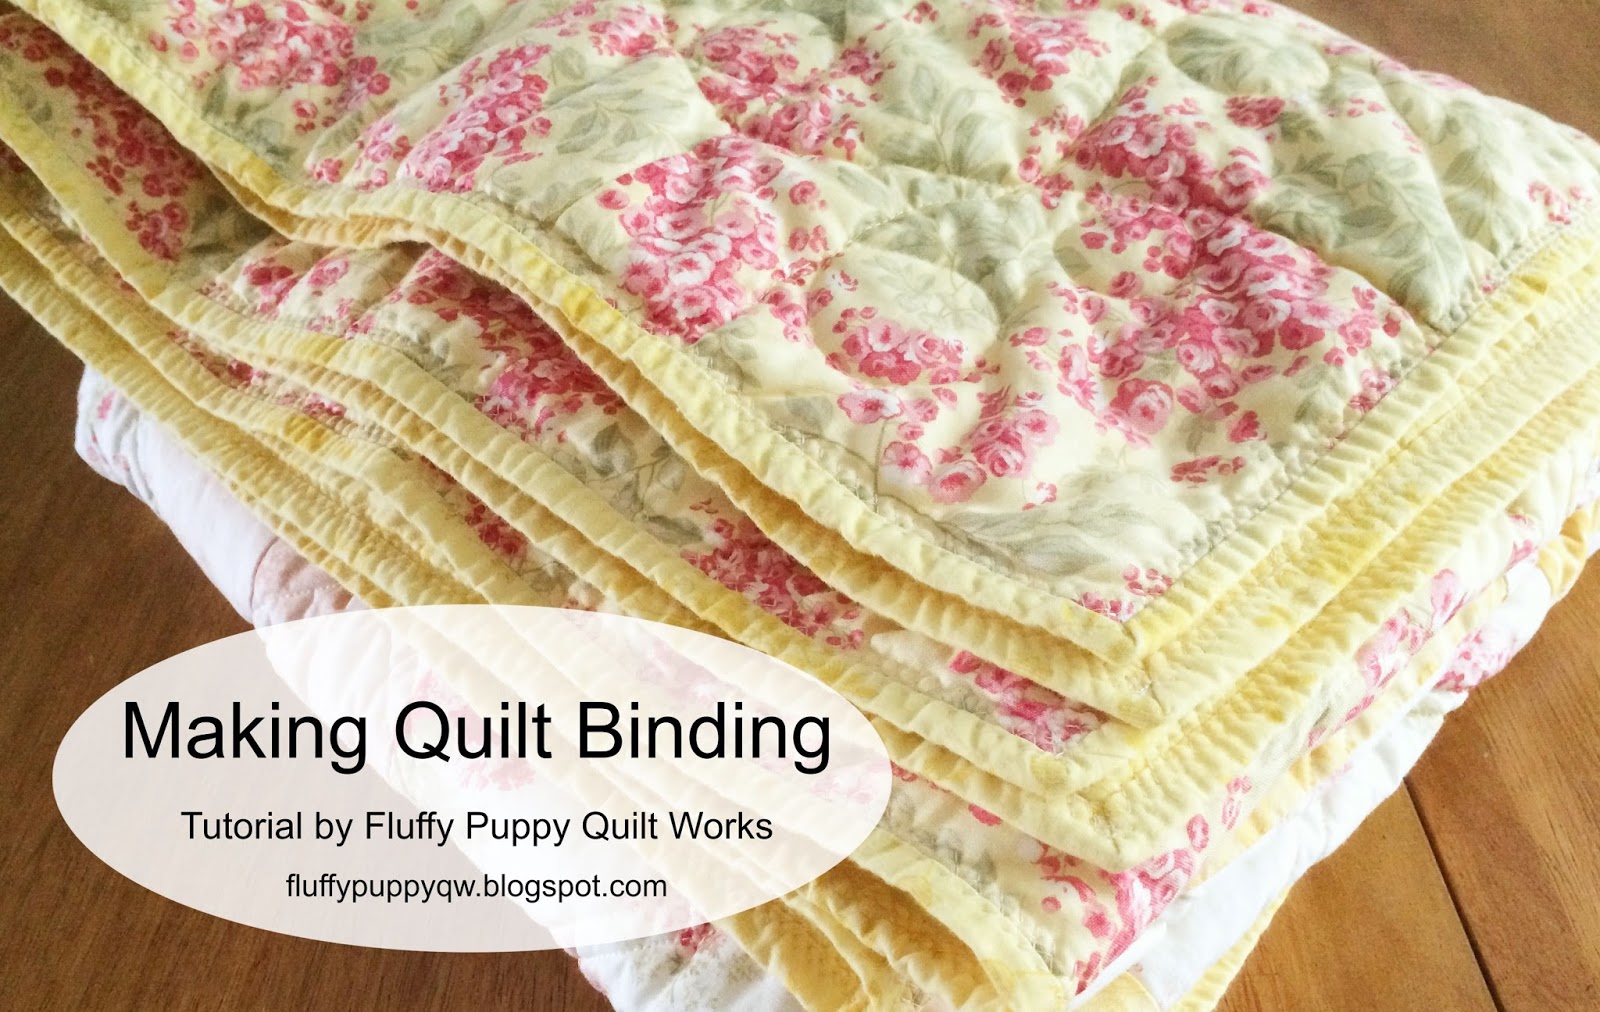
Tutorial
 |
| My binding strips are 2 1/2" wide. |

Cut the selvage off of your binding strips if you haven't already cut it off of your fabric.

Step 2: Sew together the binding strips. Place two binding strips perpendicular to each other, right sides together. Draw a diagonal line on the square where the strips touch. Sew down this line.


Cut off the excess fabric.


Press back the strips.

Once you get comfortable with sewing the strips together, you can try it without drawing the line. It is not as accurate and it's harder to get a nice straight seam, but when you are sewing together several strips it can be a huge time saver.

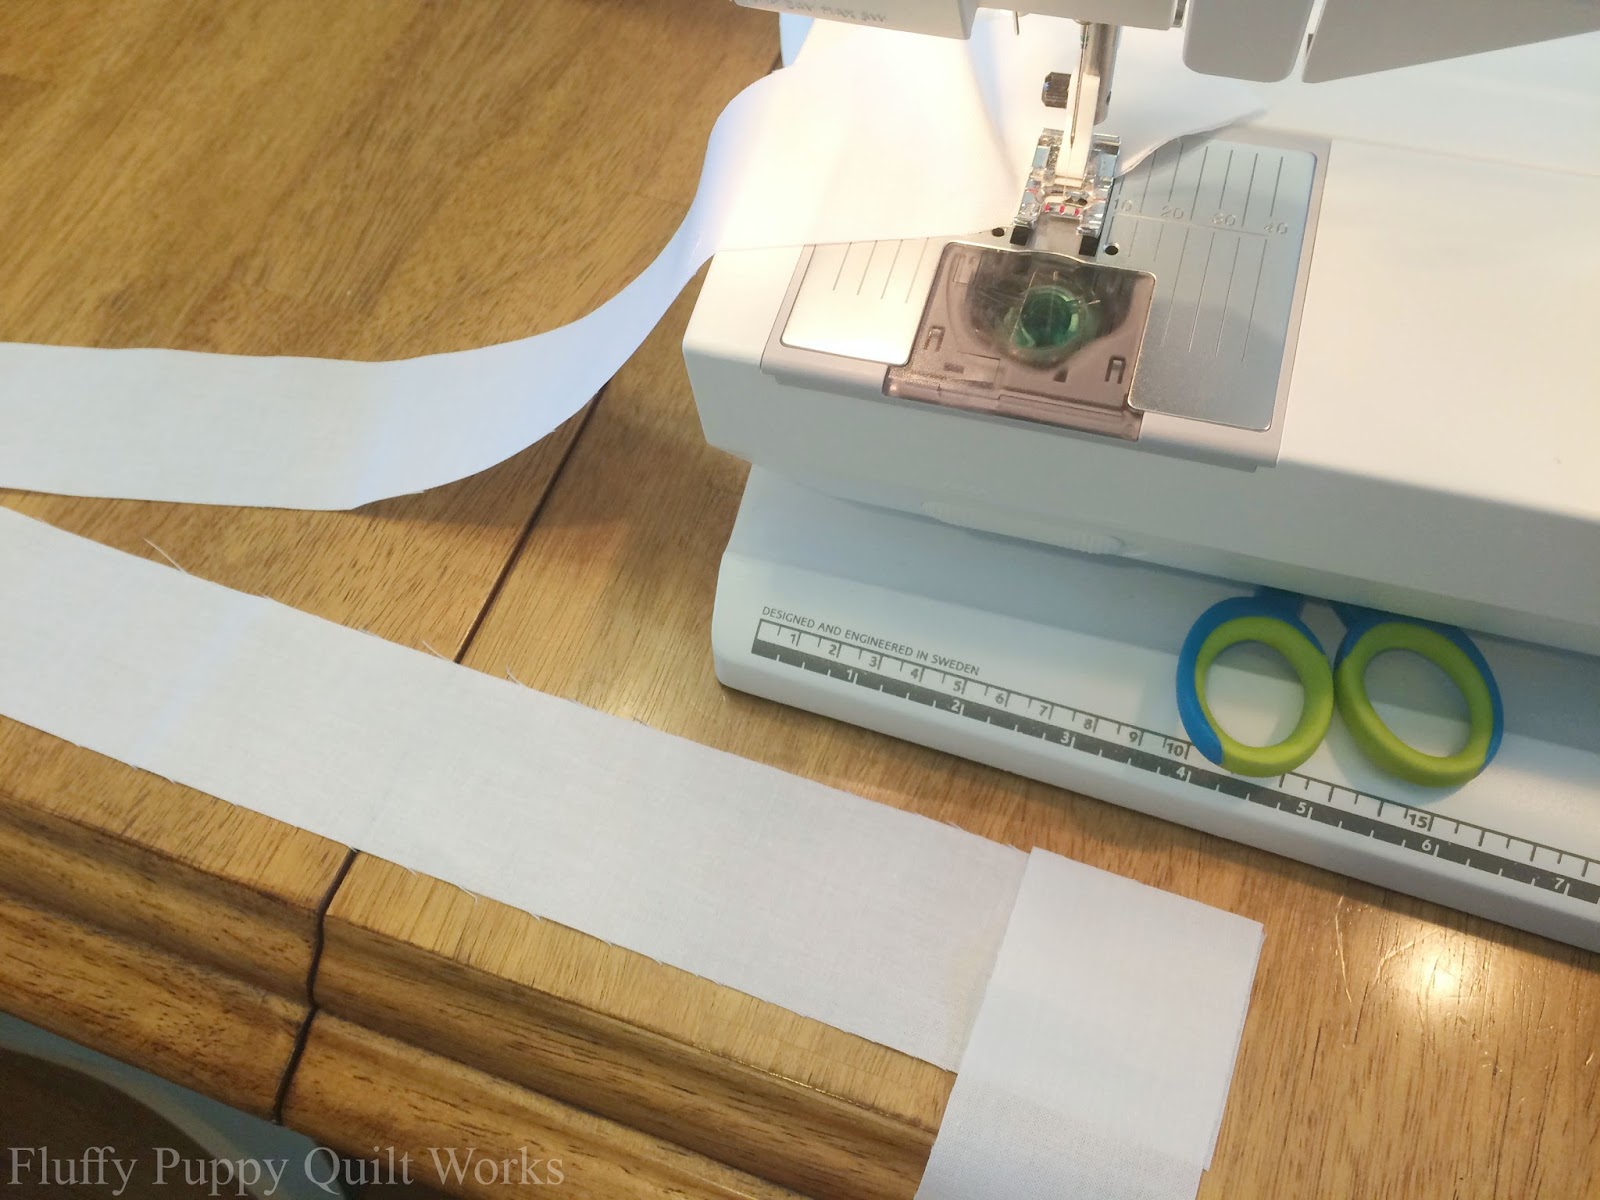
Tip: Here is how I like to quickly sew together my binding strips by chain piecing them. After you have sewn together two strips, leave them partially under the presser foot and don't clip the threads. Take the strip that is on top and lay it straight out to the left of the machine.
 |
| First two strips sewn, then left partially under the presser foot. The top strip is out to the left of the machine. |
Fold that top strip back up towards the sewing machine. This way, the right side of the strip will be facing up.
 |
| Top strip folded back up towards the machine. |
Get a third binding strip and lay it right side down against the top binding strip. Mark a line across the back of the strip if you need to.
 |
| Third strip right sides to the top strip. |
 |
| Here you can see how that top binding strip is folded away from the machine. |
Sew across the strips.


When you take your strips off the machine, there should be a little thread connecting them. This is the why it's called chain piecing! Your fabric ends up "chained" together. Simply cut this thread. You can sew together as many binding strips in a row as you want!


Back to the binding tutorial!
Step 3: Iron the binding in half, WRONG SIDES together. Iron it well.

 |
| Here is a nice roll of freshly made binding! |
No comments:
Post a Comment